
How to Prevent Breaking Down This Winter
By Anna Jones at Eversure,
12 November 2024, 15 min read
As winter approaches and the temperature drops, the overall performance and efficiency of our cars will decline. Prevalent frost, snow, and ice mean your car is more likely to break down. We have put together a helpful guide with twelve practical tips to reduce and prevent winter breakdowns as we know how difficult it can be stuck on the side of the road, especially in the dark, rain or freezing temperatures.
1. Examine Your Battery
A battery’s performance can be reduced by cold conditions so you must make sure your battery is robust enough for the winter by testing it.
How Do I Test My Car Battery?
To test the health of your battery, check your battery indicator – most modern cars have them built in. The indicator will have an arrow or circle that turns either red (low voltage) or green (good condition) depending on the state of the battery. When the battery is completely flat, nothing will show.
You can also check the health of your battery and how well it holds charge by using a voltmeter – these typically cost less than £20. When it comes to testing your battery, make sure you turn off things like the ignition, air conditioning, headlights and car radio as they can drain the battery. Carefully remove the cover on the battery terminal and connect the positive side of the voltmeter to the positive (red) terminal first, and then the negative side of the voltmeter to the negative (black) terminal. Now check your reading. A healthy battery will be between 12.4V and 12.7V . A reading of 12.3V indicates that your battery is only 75% charged. If your battery is only 75% charged, it is a good idea to charge it, especially as it will be more prone to failure particularly in cold weather when the battery works harder.
How Do I Charge my Car Battery?
To charge your battery use a trickle or smart charger, smart chargers are preferred as they automatically adjust the charging rate and prevent overcharging. The battery will have a positive and a negative terminal which will be marked with red (positive) and black (negative) covers or symbols.
First, disconnect the battery from your car. To do this, you must disconnect the negative (black) terminal from your battery first. When reconnecting the battery, you must reconnect the negative terminal last.
Then, connect the red (positive) charger to the positive terminal of the battery and the black (negative) charger to the negative terminal of the battery. Make sure that they are correctly attached before setting the appropriate charging mode and voltage. Plug the charger into a power outlet and turn it on. Car batteries take between 10 to 24 hours to perform a full charge and do not be tempted to disconnect the battery before it has completely charged. An undercharge can result in the battery running flat which can cause a breakdown.
If you don’t feel confident doing this, take a drive of 30 minutes or more as this can help recharge the battery through the alternator. If you suspect the battery is failing, book a free battery health check at your local Halfords shop. If all else fails, go to your local garage and they will be able to help you out.
If you turn on your ignition and hear the start motor ominously clicking, your battery is on its way out. Keep a portable jump pack in your glovebox to be covered in case this happens.
- Remember: regularly keeping your battery at a lower charge shortens its overall lifespan. You must keep it fully charged to help maintain its health and performance.
2. Inspect the Tyres
Your tyres are the only thing holding your car to the road and is where all the braking, acceleration, steering and comfort happens. Your car cannot grip the roads without the correct tyres so prepare for the slippery winter surfaces by inspecting the tyre pressure and tread depth.
Tyre Pressure
Check that your tyres are correctly inflated, so they have enough pressure. As cold weather causes air to contract, the pressure in your tyres can lower. To check your tyre pressure, use a high-quality tyre pressure gauge and make sure your tyres aren’t hot. Remove the valve dust cap from the tyre valve and press the pressure gauge onto the stem. It is important to check your tyre pressure regularly as it crucial for maintaining your vehicle’s optimal performance.
To find the recommended tyre pressure for your vehicle have a look in your handbook or it will be printed in the sill of the driver’s door, or in the inside of the fuel tank flap. If you discover your tyres are either over or under inflated, there is a simple fix. Head to your local petrol station to use their air pressure machine. Using a specific machine is important as it will inflate or deflate your tyre slowly and safely. The air pressure machines have two parts: one to inflate air, and the other to release air. Attach the nozzle to your tyre and either inflate or deflate your tyres. When checking your tyre pressure, make sure to check all four.
Tread Depth
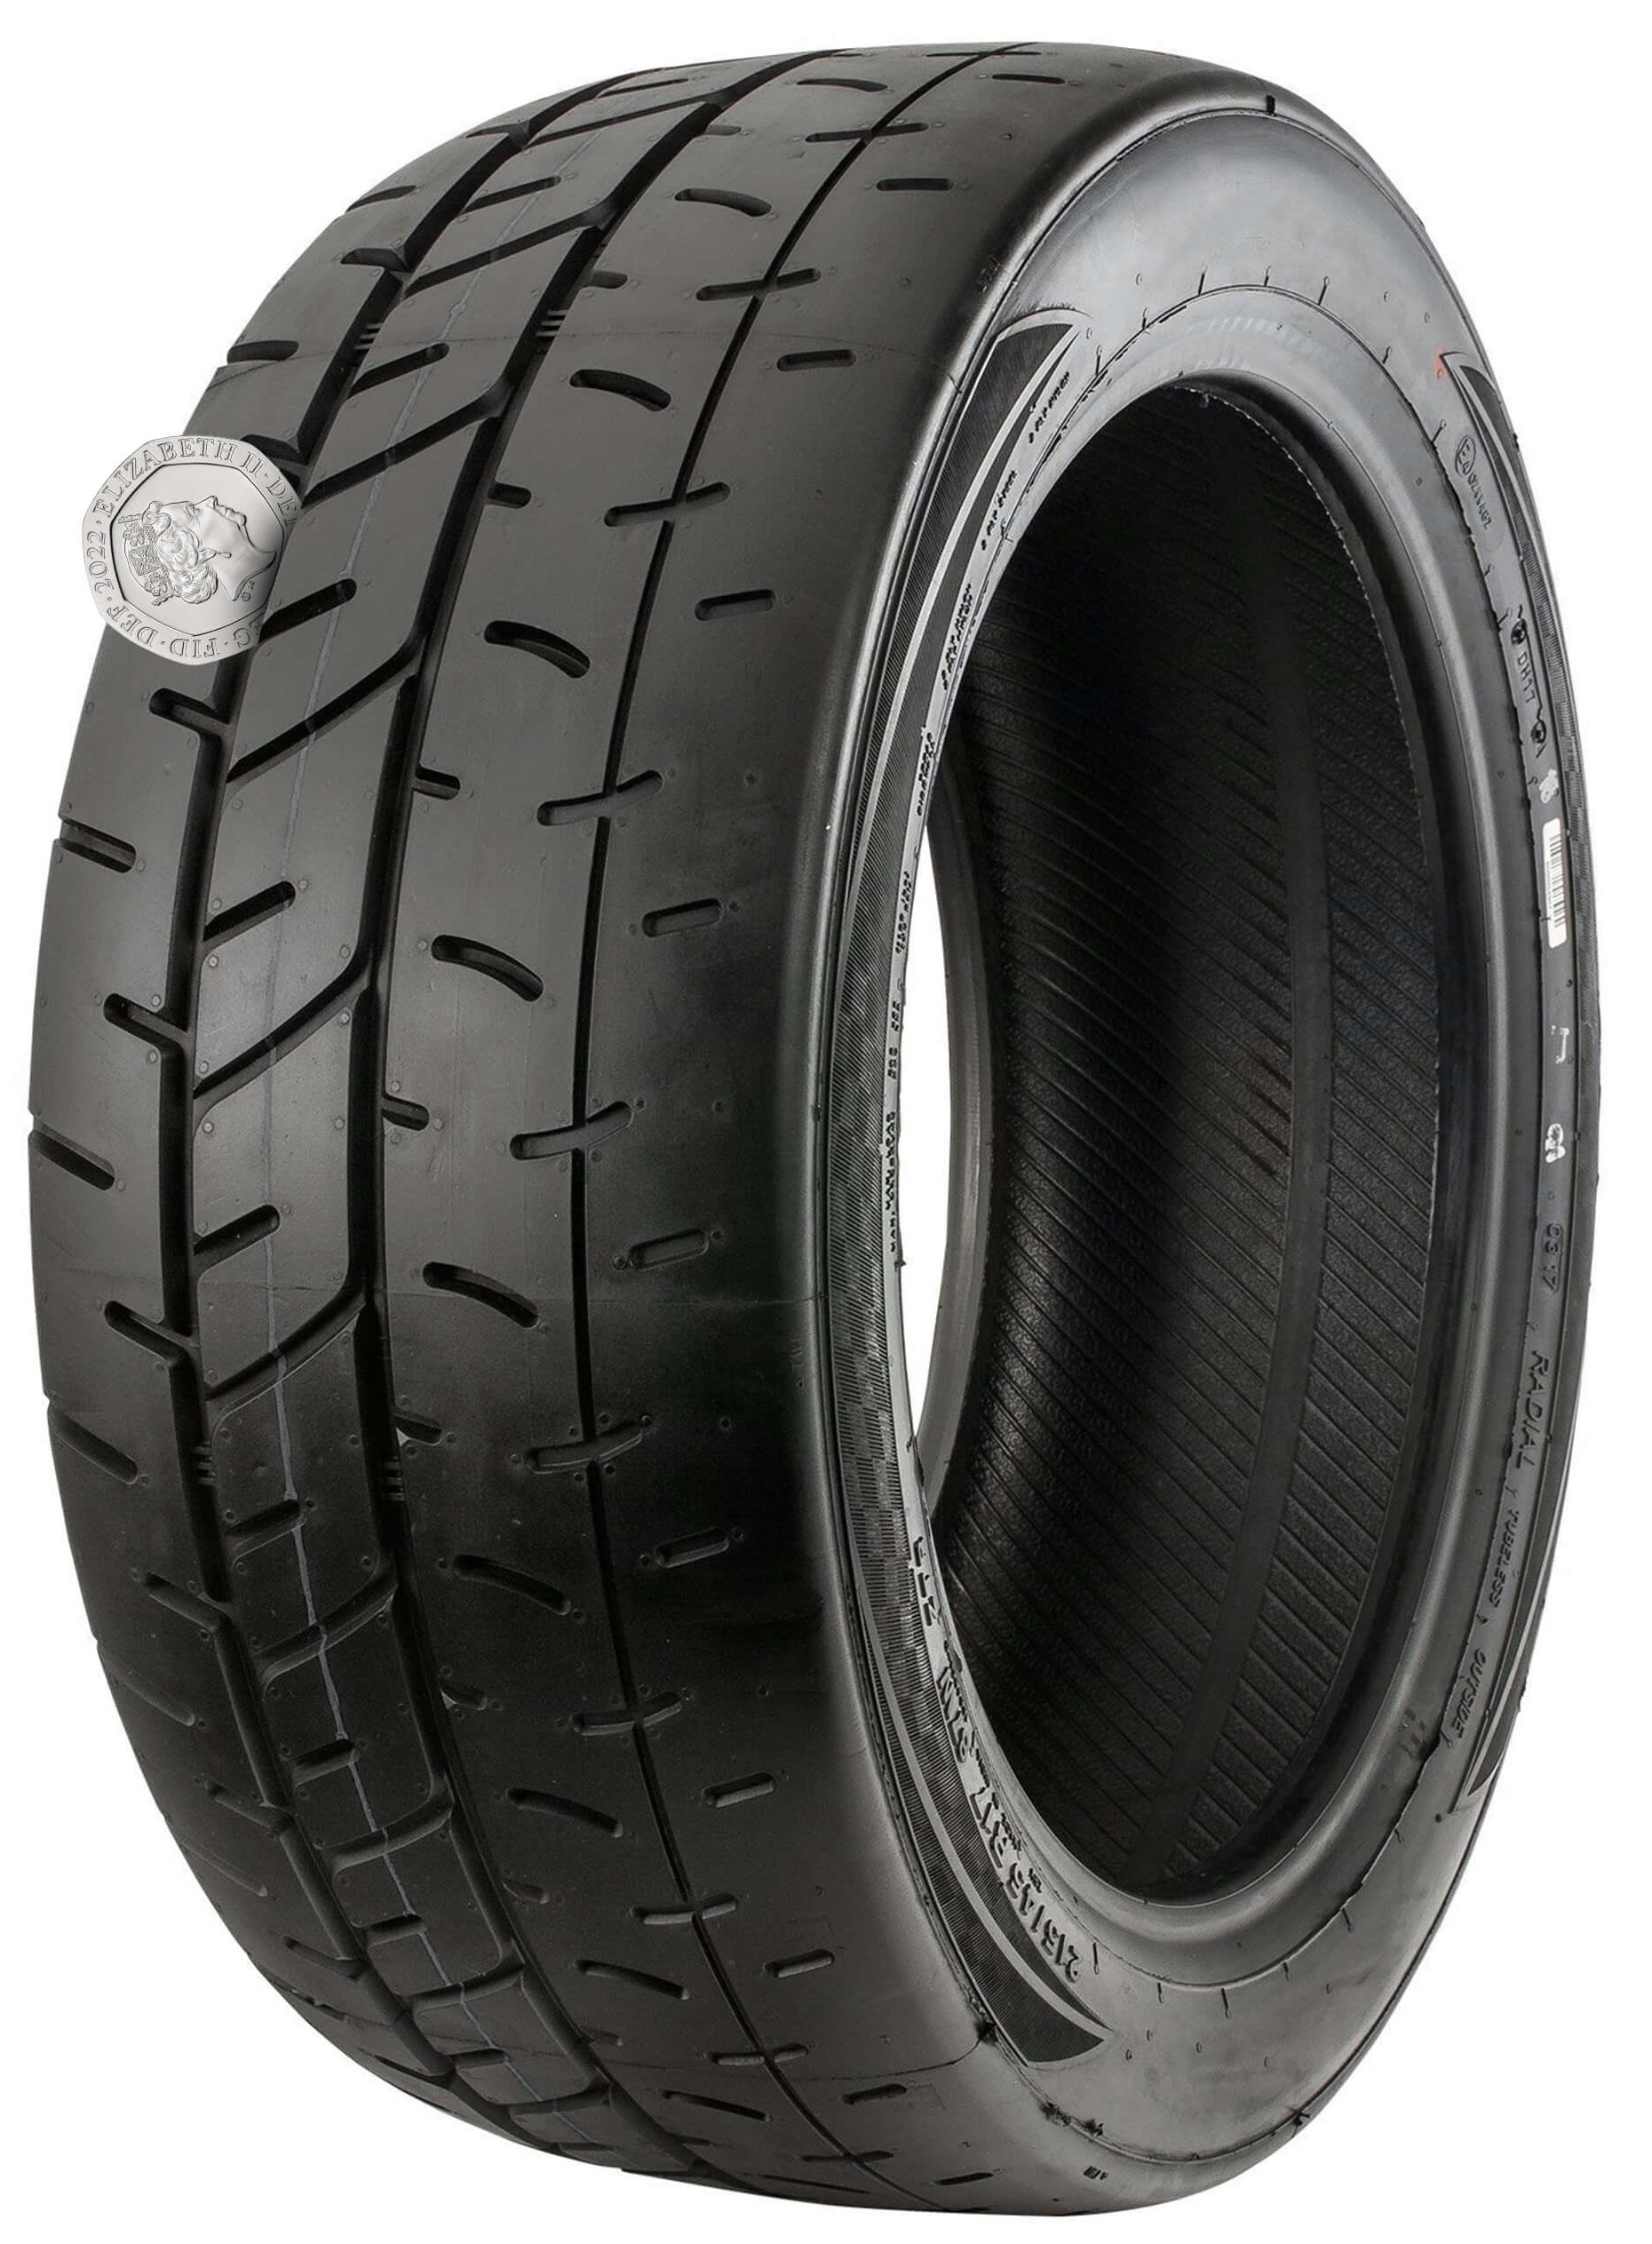
You must also confirm that your tyres have adequate tread. In the UK the legal minimum tread depth for car tyres is 1.6mm across the central three-quarters of the tyre and around the entire circumference. The recommended minimum tread depth for winter tyres is 4mm. To check the depth of your tyre tread, use a tread depth gauge. Alternatively, you can insert a 20p coin into the tread grooves. If the outer band of your coin is not visible, your tread is above the legal 1.6mm limit.
When checking your tread depth, examine for any cracks, cuts or bulges as they can compromise the integrity of the tyre, particularly in cold conditions.
If you live somewhere with a lot of snow or ice it may be worth investing in winter tyres.
3. Check the Brakes
Damaged or worn-out brakes can be dangerous during winter due to slippery road surfaces. Sticky brakes are also likely in the winter months due to salt. You should make sure your brakes are in good working order before winter arrives as they are an essential safety feature.
Brake Fluid
Check your brake fluid as it can run low and deteriorate over time which can cause brake failure. The fluid absorbs moisture so over time breaking performance reduces and the brake system can corrode. Make sure the fluid is clear (if it looks otherwise, it is time to have it flushed and replaced) and at the appropriate level so that things will run smoothly all winter long.
Brake Pads
Look at your brake pads and assess their thickness. Screeching or grinding noises when you hit the brakes are an indication of worn or damaged brake pads. If this is the case, book in to get them replaced as cold weather can exacerbate wear and tear.
You can also test the pedal to feel if it is firm and does not sink to the floor. If it feels soft or spongy it could be sign there is air in the brake lines.
4. Replace Wiper Blades
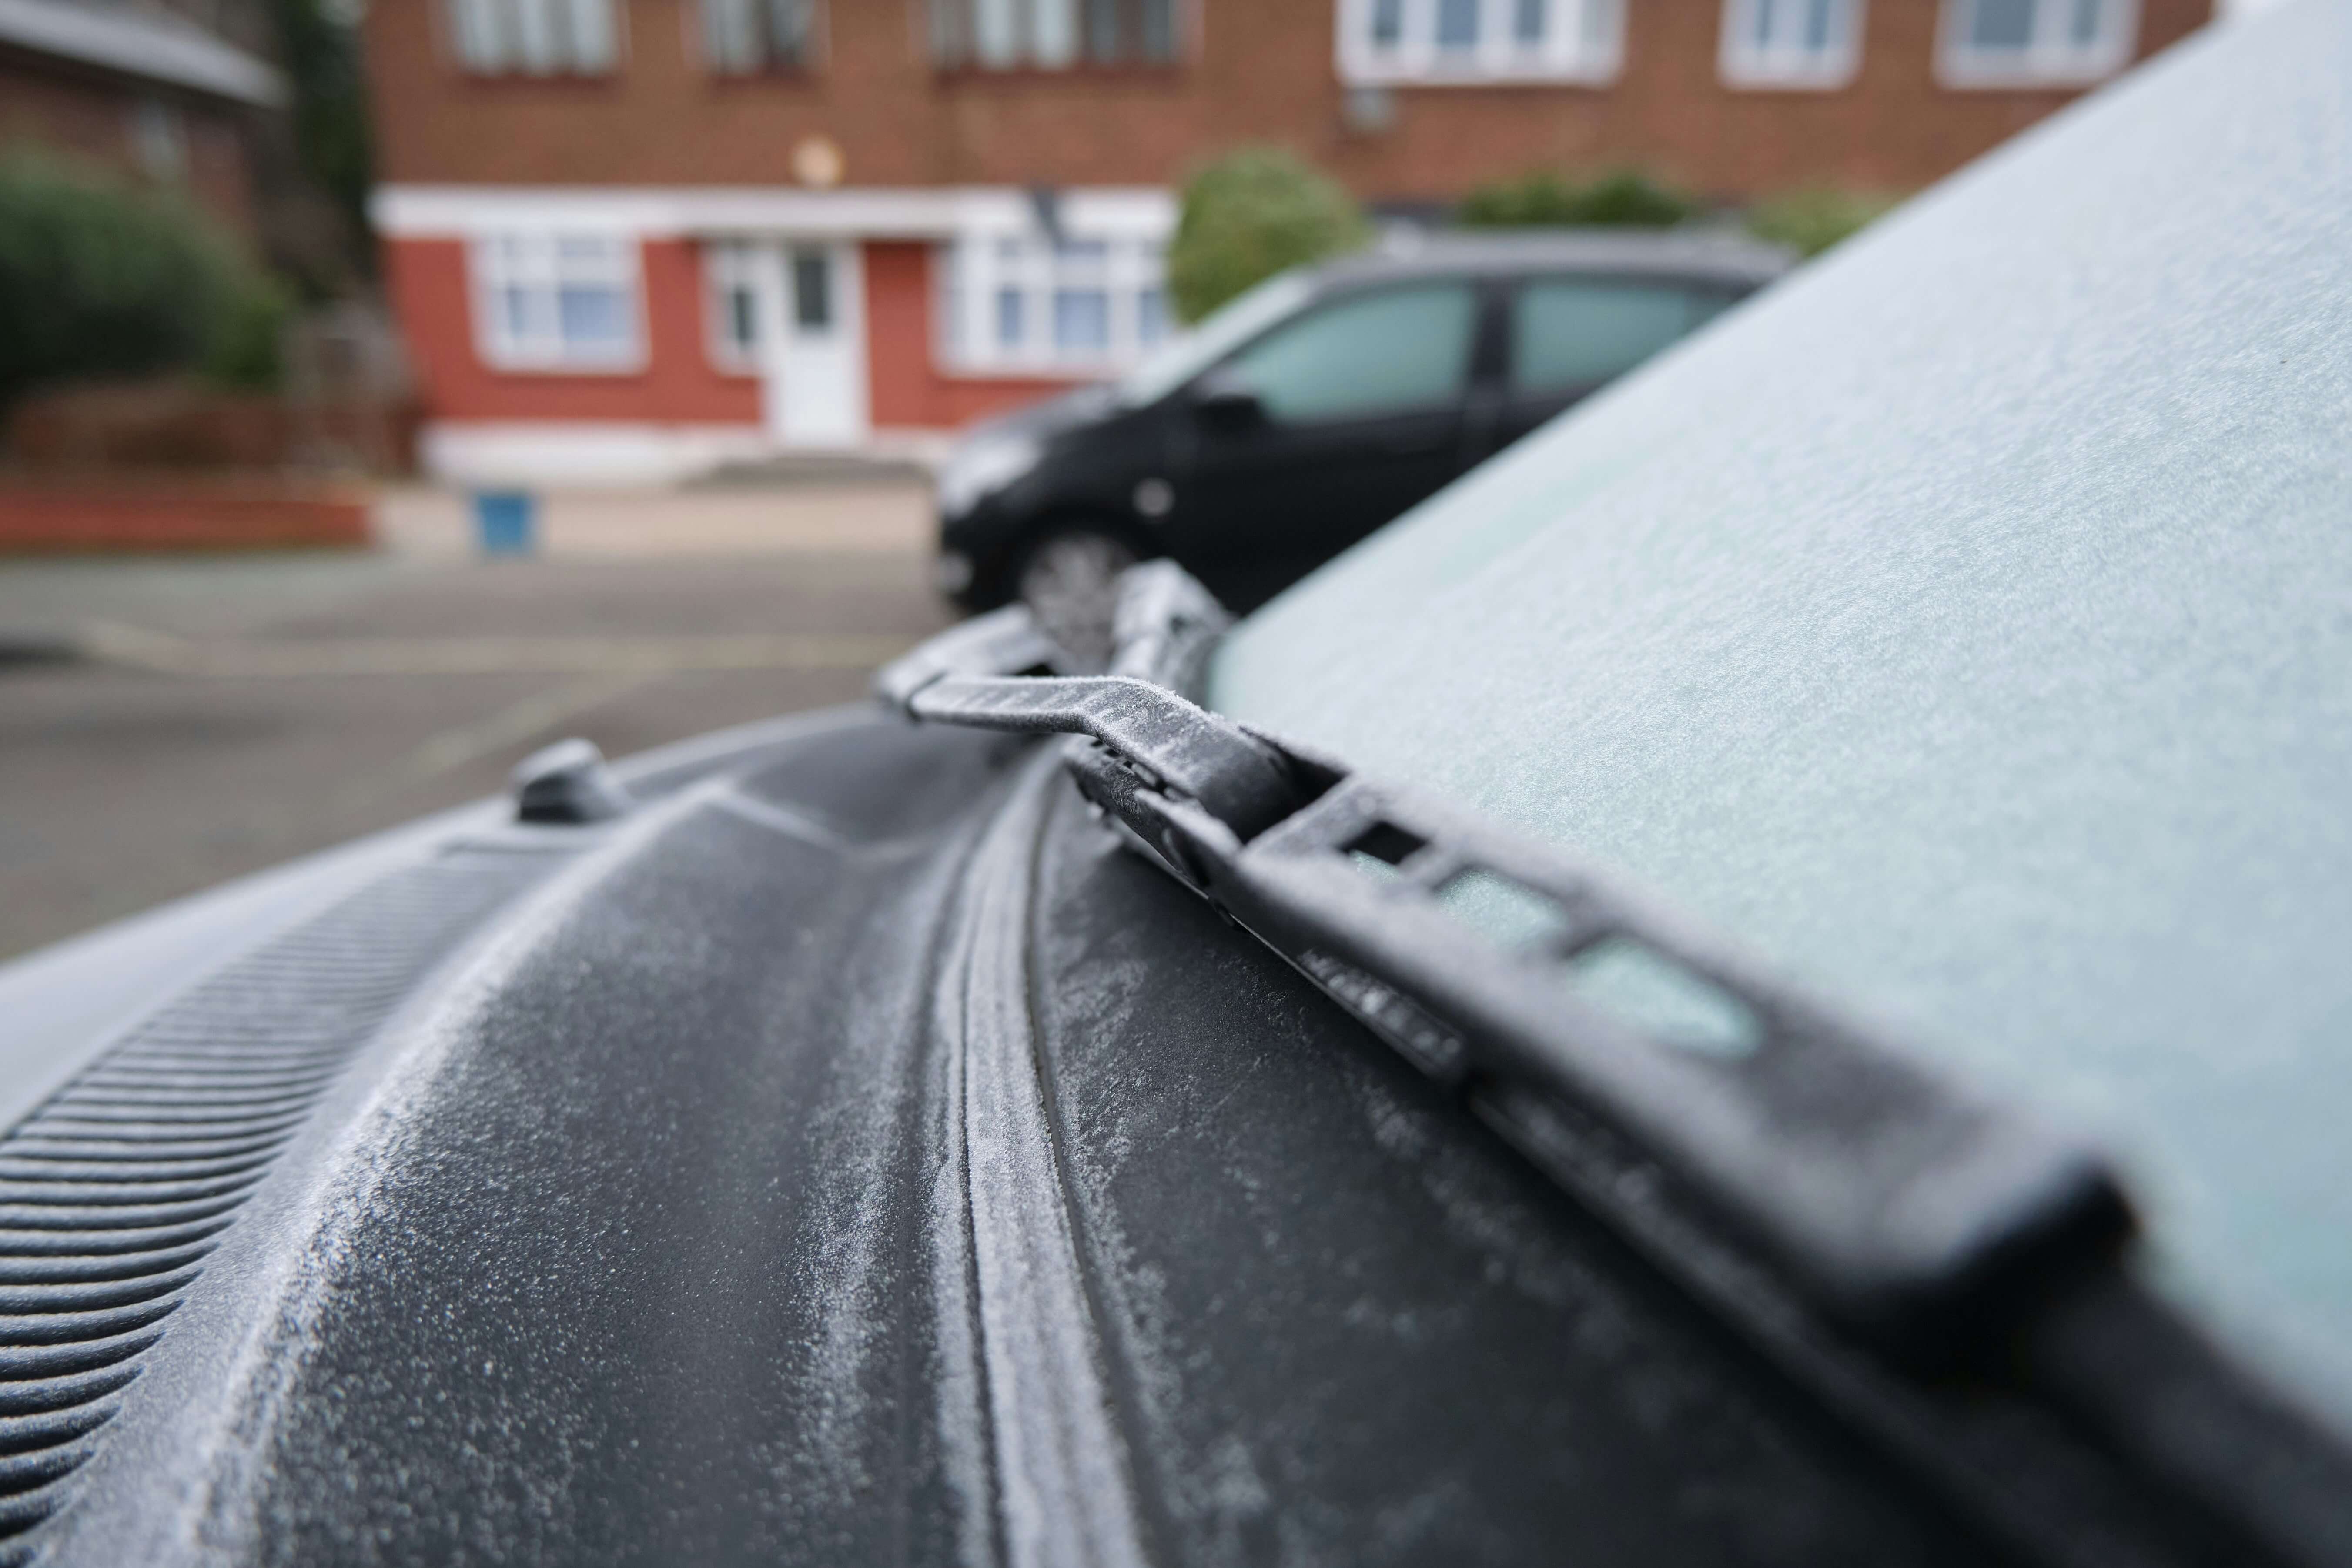
Your windscreen can get dirtier in winter from increased amounts of rain, snow, ice and road grime caused by road gritting. As good visibility is imperative, you must check your wipers are in good condition by checking they clean the windscreen. You should also check the blades for splits by running your fingers along the length. It is recommended to change your wiper blades every 12 months so if you haven’t changed them recently, now is the time. You also need to top up your screen wash so you can clean your windscreen. Make sure it can work down to -15 degrees so that it doesn’t freeze.
5. Check All Fluids
As well as brake fluid, you need to check your coolant and fuel are at adequate levels. Your coolant should be between the minimum and maximum marks, if it is below the minimum you will need to top it up. Low coolant can also affect heater performance. Remember to check the levels of your fluid when your engine is cool.
6. Ensure Proper Fuel Levels
To prevent frozen fuel lines, make sure your fuel tank is as full as possible. Frozen fuel lines occur when condensation forms in the fuel tank and then mixes with fuel. This water sinks to the bottom and has the potential to freeze.
If you suspect you need to drain your fuel filter of water, which can be signalled by engine misfires, reduced fuel efficiency and overall poor performance, then you need to place a container under the filter to catch the drained fluid. Then loosen the drain plug, but don’t remove it completely. Let the fuel flow into the container until there is a small puddle. Tighten the plug and inspect the liquid, bubbles in the fuel as you drain it indicates the presence of water. If there is residual water, loosen the plug again and wait until clean fuel flows into the container.
7. Look at the Lights
Look to see if your headlights are covered in any visible grime and filth. If they are dirty, clean them with a damp cloth, to avoid scratching them as clean lights will allow you to see as much of the road and stay as visible as possible. Also, check for any damage like cracks or chips.
It is also worth checking your full beams in a quiet dark place and seeing if they shine evenly from both sides of your car. If they appear dull or broken, switch the bulbs out. Similarly, see if your number plate is clean and that the lights for the plate are working well too.
8. Test the Heating Systems
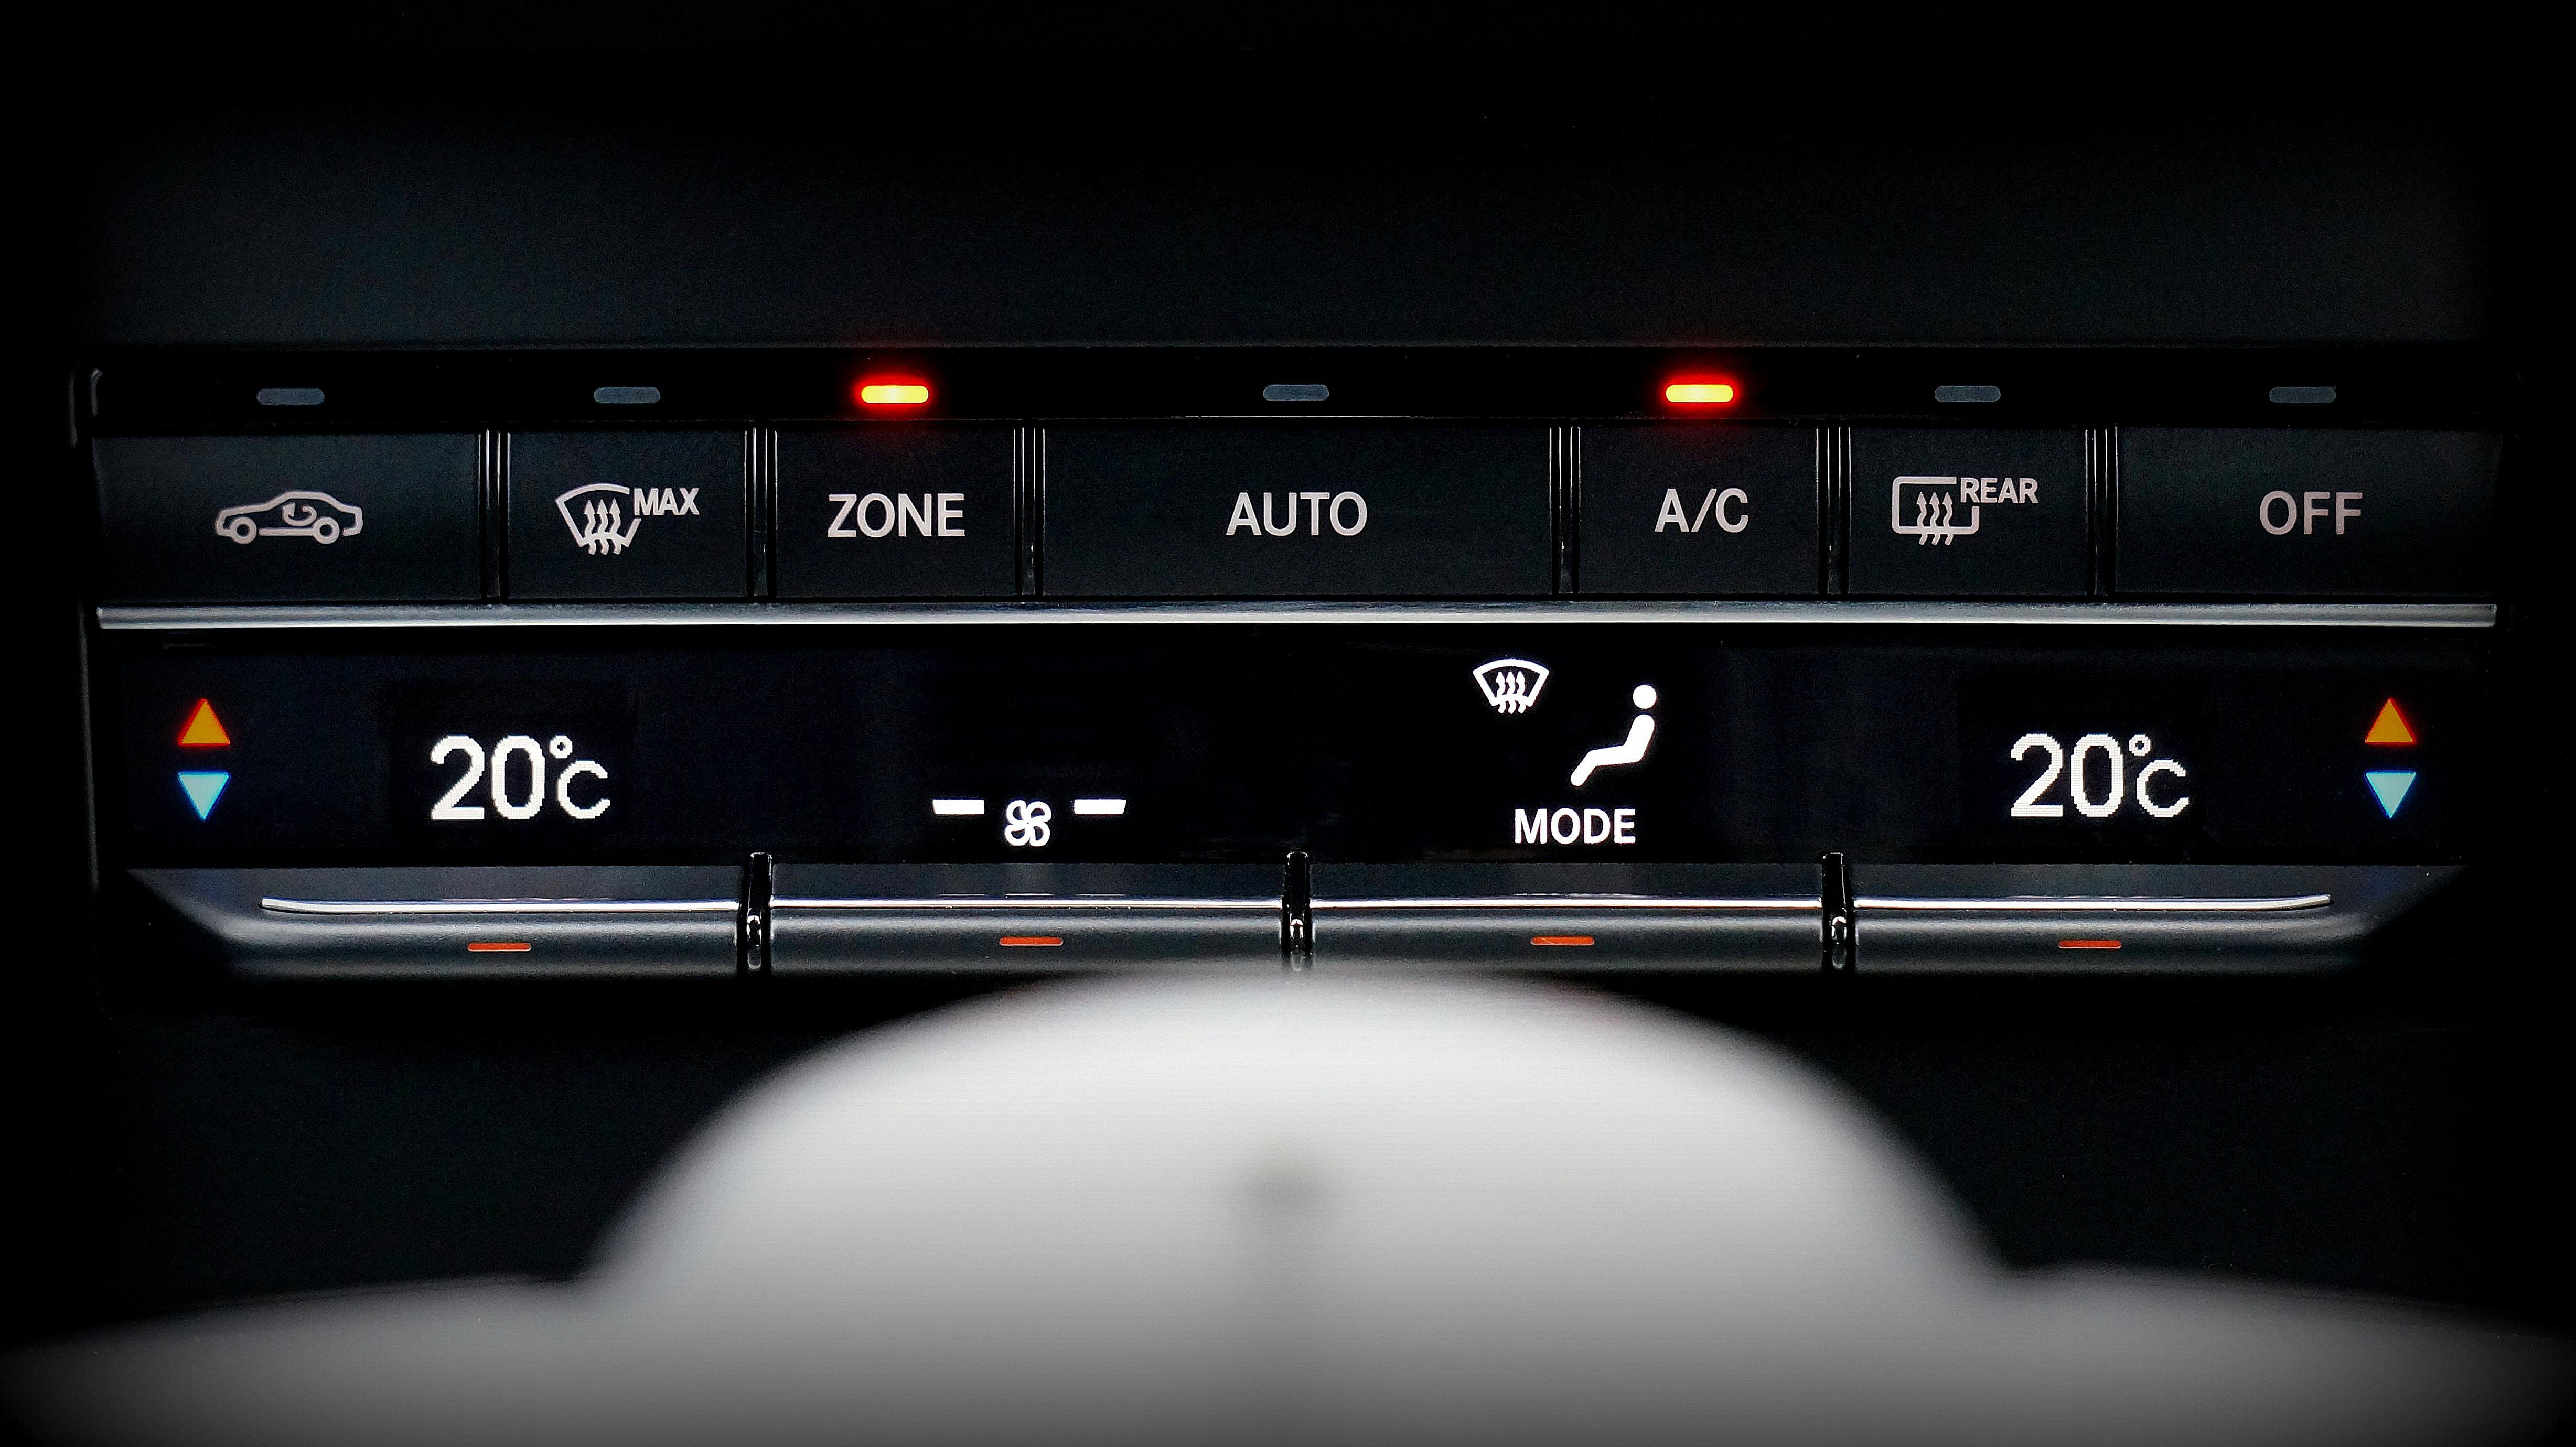
Heating your car in winter requires a lot of energy and takes several different vehicle systems to work cohesively together. If you want to be warm when driving, and to be able to clear windscreen fog on cold mornings, it is worth checking to see if your heating is functioning well before winter rolls around.
Firstly, you need to check your engine temperature to check that the gauge is reading correctly and there are no warning lights.
To check your heater, turn the fan to high speed and set the temperature to the warmest setting. The air coming out of the vents should be warm within a few minutes. If it remains cool or is only slightly warm, there is an issue. Look under the bonnet and locate the heater core hoses which run from the engine to the heater core. Both hoses should be warm to the touch, if one is cold and the other is hot then the heater core may clogged or there could be an issue with coolant circulation.
It is also worth checking the cabin air filter which is typically located behind the glove compartment or under the dashboard. Remove any dirt and debris, or replace it altogether, as a clogged filter reduces airflow and affects the efficiency of the heater.
9. Grease All Doors and Locks
Apply a coat of Vaseline to the rubber seals on all the doors and the boot. To prevent your locks from freezing shut, dab them with WD-40 or any graphite lubricant.
10. Keep an Emergency Kit
It is important to be fully prepared so carrying an emergency kit with essentials such as blankets, a torch, food and water, a spade, a first-aid kit and the number of your breakdown provider written down is not a bad idea. If you are driving with young children consider bringing toys, games, books or tablets. Bringing phone chargers and portable chargers is something you also can’t forget.
11. Head to Your Local Garage
If you notice any issues during your checks or if you’re unsure about the condition of your car, it is worth booking with your local garage to get your vehicle in for a pre-winter service. The mechanics can do a thorough check-up and address any underlying issues you may h have spotted yourself.
12. Breakdown Insurance
Why not prepare for every eventuality and get breakdown insurance today?
Final Thoughts

Follow these essential winter vehicle maintenance and preparation tips, and your car will be safe and reliable through the cold months. You can now navigate the wintery conditions with confidence!
Learn More About Driving in Adverse Weather Conditions
Look at our specific winter driving guides to familiarise yourself with winter driving techniques suitable for conditions such as snow, ice and heavy rain. In a nutshell, you should avoid sudden movements, accelerate and decelerate gently, and maintain a greater distance from other vehicles.